
10 Digital Photography Tips to Take Your Photography Skills to Another Level
Taking pictures can be an addictive hobby for those who consider photography their passion. Of course, photography is an art you would not ever be ‘done’ learning. It is a skill that is worked on constantly with passing trends and experience, but some tips can help you expand your skills and bring a new perspective to advance your photography work.
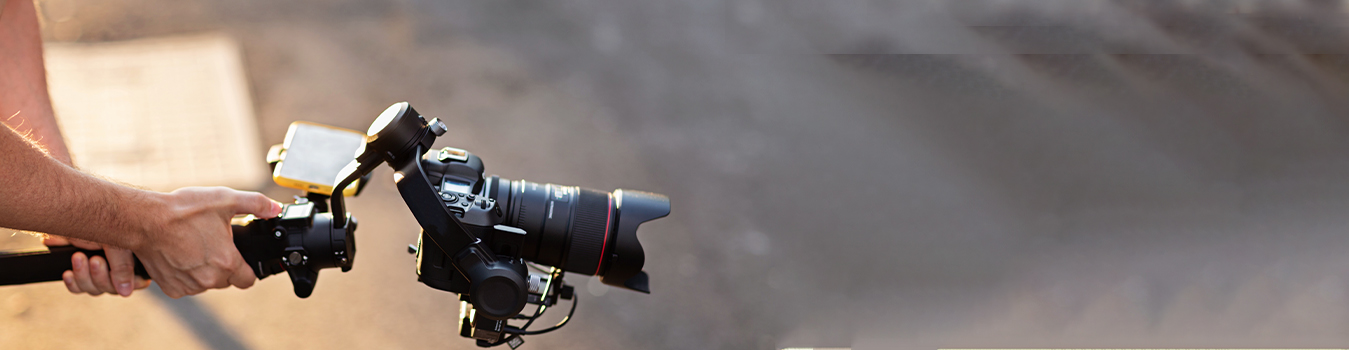
The advancement in technology has paved the way for photography enthusiasts to experiment even more with their work. The evolution of digital cameras has made it easier to control the quality of content & experiment with angles & lighting; for newbies, its usage still can be intimidating initially. Advanced tech gears require knowledge of some advanced features to utilize them effectively, so it is significant to be fully aware of their complete functionality.
To make things easier for beginner-level photographers, we have compiled a list of 10 simple tips that can profoundly help build a strong foundation for their work. These tips are simple yet can profoundly help you give new ideas to improve your shooting experience.
- Learn to Hold your Camera Correctly
This may seem like stating the obvious, but many new photographers struggle with holding the camera correctly, which causes blurry images and camera shake. While tripods are a great alternative to prevent camera shake, you mostly utilize them only in low-light situations, so it’s important to learn how to hold your camera properly to avoid unnecessary inconvenience.
It’s better to hold the camera with both hands by gripping its right side with your right hand and placing your left hand underneath its lens to support the camera weight. The closer the camera is to your body, the stiller you’ll be able to hold it. For extra stability, you can lean up against some support or adopt a wider stance in case of no support available.
- Shoot the Picture in RAW
RAW is a file format that captures all the image data recorded by your camera’s sensor without compressing it. The benefit of shooting in RAW is you’re able to get higher quality images and you have far more control over editing such as fixing problems like underexposure, color temperature, contrast, and white balance. Therefore, shooting in RAW can profoundly help in transforming the quality of your images.
Though RAW files take up more space and require some post-editing, their end product can profoundly transform the quality of an image so it’s definitely worth it.
- Master the three basics: Aperture, Shutter Speed and ISO
It may seem intimidating initially, but understanding the exposure triangle is really beneficial. The exposure triangle refers to the three basic elements of exposure; Aperture, Shutter Speed, and ISO. When you are capturing in Manual mode, you’ll require to balance these three elements to get good quality images.
Here’s a simple guide to explain the functionality of these three basic elements:
Aperture: Aperture is basically the opening in your lens that controls how much light breaks through the camera’s sensor. For example, a narrow aperture allows less light through while a wider aperture allows more light through. A wider aperture should be used when you want your focus only to be on the subject, but a narrow aperture should be used when you want to focus on the whole scene.
Shutter Speed: Shutter speed controls the amount of time the shutter stays open while taking a picture. The longer it stays open, the more light breaks through the camera’s sensor. A longer shutter speed helps to add a blur motion effect while a fast shutter speed is used to add a freezing action effect.
ISO: ISO manages the camera’s sensitivity to light. A low ISO implies the camera will be less sensitive to light, while a higher ISO implies it will be more sensitive to light. ISO of 400 to 800 or higher if necessary is recommended for shooting in low light situations such as indoor and night shoots, while an ISO setting of 100 to 200 is considered ideal for shooting outdoors during the day.
- Buy a Polarizing Filter
A polarizer is a great filter to invest in. This filter gives your photos a WOW factor by not only reducing the reflections from metal, glass, and water but also works on improving the colors of the sky and foliage. At the same time, it keeps your lens protected, which makes it totally worth the investment.
- Try Out Different Lenses
Trying out different lenses can really help you come out of a creative rut and experiment with some new forms of photography. Different lenses are designed specifically to cater to different capture needs, for instance, a macro lens is used when you want to focus close and fill your frame with small objects. Similarly, there are numerous other options that you can select from according to your capture needs.
- Keep Your Sensor Clean
There’s a good chance of getting some dust on your sensor if you keep changing your lenses. While it is often undetectable at wider apertures, a narrow aperture makes it visible which can affect the quality of your image. Therefore, it’s important to keep a proper cleaning tool for dust removal. In case you don’t feel comfortable cleaning it yourself, you can have it cleaned from some professional place.
- Choose a Plain Background
Choosing a simple background with neutral colors helps draw attention to the subject you want to focus on. It’s important you decide what needs to be in the shot and avoid anything that can be a distraction to the frame. This technique is utilized to draw the eyes to the focal image, especially where the model is placed off-center.
- Be Careful with your On-Camera Flash
It’s better to turn off your camera’s auto flash at night and low light settings, otherwise you can end up getting unpleasant photos with hard shadows and red eyes. In such situations, you can manually change the ISO to your need, the photos might turn out a bit noisier because of low light but it still would be better than ruining the shot altogether.
However, there may be situations where there wouldn’t simply be enough light, in such a situation, you can go to your flash setting and decrease the brightness as much as you can. Also, you can try putting something over the flash to try diffusing the light, like a paper or an opaque scotch tape. You can also hold white cardboard in front of it at an angle that helps to bounce the light off the ceiling.
- Learn to Aperture Priority & Shutter Priority Modes
Aperture Priority Mode and Shutter Priority Mode are two very valuable options, that help you venture out of automatic mode to give you more control without overly complicating the process for you.
Aperture Priority Mode lets you select the aperture you require and adjusts its shutter speed accordingly. For instance, for shooting a portrait with a blurred background, a wide aperture could be selected and the camera would automatically figure out the appropriate shutter speed for it.
Whereas in Shutter Priority Mode, you select the shutter speed you require and the camera selects the aperture for you.
- Pan to Create Motion
Panning is an effective technique if you want to capture a subject in motion. To achieve this, you need to choose two steps lower shutter speed than required. Focus your camera on the subject with your finger halfway down the shutter to take the photo. Remember to follow the subject as they move to capture the motion effect. It is better to use a tripod or monopod to avoid camera shake or blur.
SUMMARY
Besides following these useful tips, the best way to keep improving is to practice as much as you can and not be afraid to make mistakes. Constant practice and being open to learning from others, whether they’re experienced photographers or newcomers is what’s going to help you progress in your craft.


Leave a Reply