
How to Prepare Your Brand for a Professional Product Shoot
A product shoot is one of the most important investments a brand can make. The images that come out of it will appear on your website, your social media pages, your marketing materials, your packaging, and possibly in print advertising. Done well, product photography makes your items look so good that customers want to own them. Done poorly, it can make even a high-quality product look cheap and unconvincing.
Table of Contents
The quality of what you see in the final photos depends not just on the photographer. It depends heavily on how well your brand prepared before the camera ever started shooting. This guide walks through everything you need to do before, during, and around a professional product shoot to make sure you get the best possible results.
Why Good Product Photography Makes a Real Difference
Before getting into preparation, it helps to understand exactly why product photography matters so much.
When a customer is shopping online, they cannot touch, feel, or try the product. All they have to go on is what they can see. A clear, well-lit, beautifully styled image tells a customer that the product is real, that it is well-made, and that the brand behind it cares about quality. A blurry, flat, or poorly lit image does the opposite.
According to Shopify, high-quality product images are one of the most significant factors influencing a customer’s decision to buy online. In a competitive market, where customers are comparing your product to dozens of others in the same category, the visual quality of your photography can be the single deciding factor between a sale and a lost customer.
Research from Forbes consistently shows that visual content is processed far more quickly by the human brain than text, and that strong visual branding creates a stronger emotional connection with products than written descriptions alone. Your product photography is not decoration. It is a core part of your sales strategy.
Step 1: Get Clear on What You Want Before the Shoot
The most important thing you can do before any product shoot is to get clear on your goals. Ask yourself what you want these images to achieve. Are they going on an e-commerce website where clean white backgrounds and sharp detail matter most? Are they for a lifestyle campaign where mood, setting, and emotion are more important? Are they for a print catalogue, a social media launch, or a television commercial?
Each of these goals requires a different approach to the shoot. A photographer cannot read your mind. The clearer and more specific you are about what you need, the better your photographer can plan the lighting, backgrounds, framing, and styling to match.
Write down your goals before your first conversation with the photographer, and bring visual references if you have them. Images you have found online or from other brands that capture the look and feel you want are incredibly useful as starting points.
Step 2: Know Your Product Types and What Each One Needs
Different types of products require different photography approaches, and understanding this before the shoot helps you communicate more clearly with your photographer.
Jewelry and small accessories require extreme precision and very controlled lighting to capture fine details, shine, and texture without overexposure. Electronics and gadgets need clean, modern presentation with carefully controlled reflections. Fashion and apparel often perform best either flat-laid on a surface or styled on a model through modeling shoots. Food and beverages require both speed and skill because the products must look fresh throughout the session. Cosmetics and beauty products need flawless, spot-free presentation where every label is perfectly readable.
Think about the specific challenges your product presents and mention them to the photographer in advance. A professional who has handled that category before will know exactly what to do.
Step 3: Clean and Prepare Every Product Carefully
This step is one that many brands overlook, and it costs them in the final results. A professional camera and lighting setup picks up everything. Dust, fingerprints, small scratches, uneven packaging, bent corners, and minor smudges that are invisible to the naked eye in normal lighting become very noticeable in a professionally lit photo.
Before the shoot day, clean every product thoroughly. For physical items like bottles, jars, or boxes, wipe the surface clean with a microfibre cloth. For fabric and apparel, iron or steam every piece so there are no creases. For electronics, remove all protective stickers or films unless they are part of the product presentation. For food, prepare items as close to shoot time as possible and bring backups of anything that can wilt, melt, or lose its freshness quickly.
If your product comes in packaging, make sure the packaging is immaculate. Any damage to a box, a label, or a seal will be visible in the final image and will reflect on the overall quality impression.
Step 4: Decide Between Studio and On-Location Photography
One of the key decisions you will make before a product shoot is whether to use a studio environment or shoot on location.
Studio photography gives you maximum control over every element. The lighting is set up precisely, the background is clean and consistent, and there are no unexpected variables like changing sunlight, wind, or background noise. Studio shots are ideal for e-commerce images, catalogue photography, and any shoot where consistency across many products is important.
On-location photography places your products in real-world settings that suggest how they will be used or enjoyed. A skincare range photographed against natural textures and soft window light has a different feel from the same products on a white studio background. On-location shooting works especially well for lifestyle brands, food and hospitality products, fashion collections, and any brand that wants to create a mood or tell a story through its images.
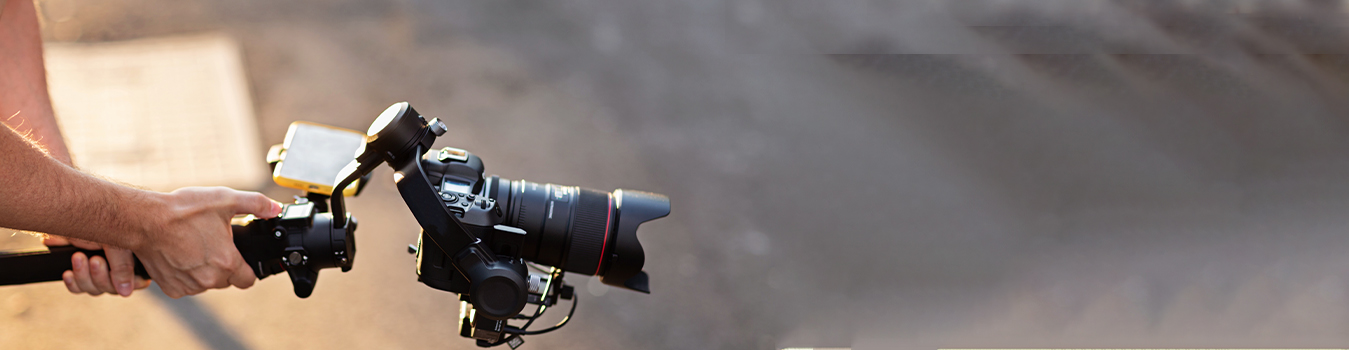
Hamza’s Production offers both studio and on-location product photography across Pakistan and Dubai, with tailored packages depending on the type of products and the intended use of the images. Combining product photography with a promotional video on the same shoot day is also a smart way to maximize your time and budget.
Step 5: Think About Your Background and Props
Background choice has a huge impact on how a product looks. A clean white background makes products feel modern, professional, and easy to place on any website. A natural material background like wood, stone, or marble gives products a premium, artisanal feel. Colored backgrounds can be used to match brand colors or create a mood.
Props are additional items placed in the frame to create context and style around the main product. A coffee brand might use a ceramic mug, scattered beans, and a warm wooden surface as props. A jewelry brand might use florals, soft fabrics, or minimal geometric shapes. The key with props is that they should support the product, not compete with it for attention.
Discuss background and prop ideas with your photographer before the shoot and, if possible, send visual references. Some photographers provide props and surfaces as part of their service. Others expect the brand to bring their own. Knowing in advance prevents wasted time on shoot day.
Step 6: Prepare a Shot List
A shot list is a written document that describes every photo you need to come out of the shoot. It lists each product, the type of shot required for that product, any specific angles or close-ups needed, and any special requirements.
For example, your shot list might specify that a shampoo bottle needs a full front shot, a 45-degree angle shot, a close-up of the label, and a lifestyle shot with water droplets. Without a shot list, it is easy to get to the end of a shoot day and realize a key shot was missed, requiring an expensive reshoot.
A good shot list also helps the photographer manage time efficiently. When both sides know exactly what needs to be captured, the session flows faster and nothing gets forgotten.
Step 7: Understand the Lighting Your Products Need
You do not need to be a lighting expert yourself, but having a basic understanding of what kind of light works best for your products helps you have a more useful conversation with your photographer.
Hard, directional light creates strong shadows and a dramatic feel. It works well for perfume bottles, electronics, and products where you want to emphasize shape and edge. Soft, diffused light is even and gentle. It works well for food, cosmetics, fabric, and any product where you want the surface texture to look inviting rather than harsh. Natural light through a window creates a warm, organic look that suits lifestyle, food, and fashion photography very well.
Most professional photographers will already know the best lighting approach for your product type, but sharing examples of the look you want is always helpful.
Step 8: Plan for Packaging Photography Too
Many brands focus entirely on the product itself and forget that the packaging is equally part of the brand experience. Boxes, bags, tissue paper, labels, and custom stickers all contribute to the first impression a customer has when their order arrives.
Including packaging in your product shoot gives you images that can be used in unboxing content, social media posts, gift guides, and online store listings. It also gives customers a more complete picture of what they are buying, which builds confidence and reduces the number of returns.
If your brand also produces printed materials or an album design related to its products, the album design and print service at Hamza’s Production can work alongside the photography to ensure the visual assets carry through into print consistently.
Step 9: Know Where the Images Will Be Used
Before the shoot, confirm with your photographer exactly what sizes and formats you will need the final images in. Website banner images need to be very wide and high resolution. Social media images have different proportions for feed posts, stories, and reels. Print materials like catalogues and magazines require the highest resolution files available.
If you are also planning a digital video commercial that will feature your products, it is worth flagging this to your photographer so that certain shots can be composed to work as video freeze frames or cutaways. The more your photographer knows about the full scope of your marketing plans, the better they can plan the shoot to serve all of your needs.
According to Harvard Business Review, consistent visual presentation across all platforms, from websites to social media to print, is one of the key drivers of brand recognition and consumer trust. Your product photography should fit seamlessly into that broader visual system.
Step 10: Communicate Your Brand Identity to the Photographer
Your product photographs should not just show what your products look like. They should show who your brand is. A luxury brand and a playful, affordable brand selling the same category of product should have completely different photography styles. The lighting, the colors, the backgrounds, the mood, and the styling should all reflect the specific personality of your brand.
Before the shoot, give your photographer a clear sense of your brand identity. Share your brand colors, your logo, examples of your current marketing materials, and the tone you want the images to convey. Is your brand clean and minimal, or warm and textured? Modern and bold, or soft and romantic? The more context your photographer has, the more the images they produce will feel genuinely connected to everything else your brand communicates.
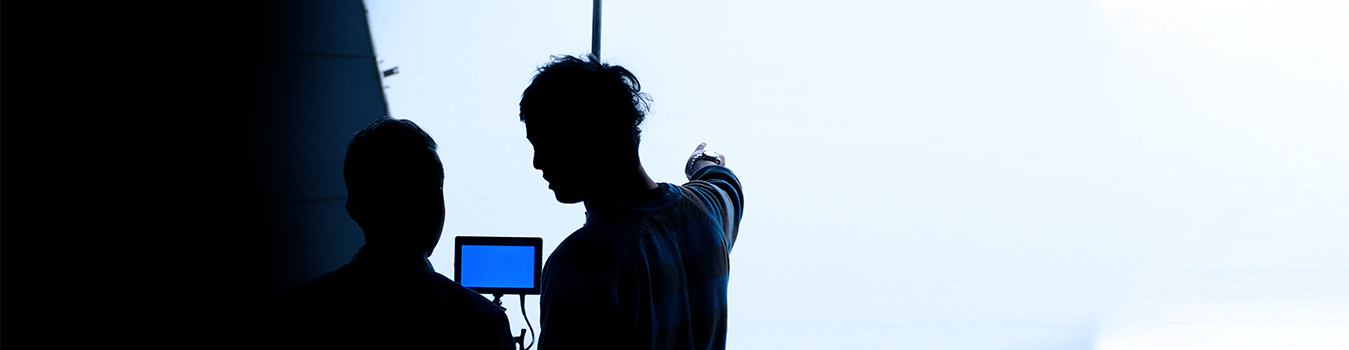
For brands that also want video content to support their launch, discussing corporate event coverage of a product launch alongside the photography shoot is a way to capture the full story of a new product coming to market.
Common Mistakes Brands Make Before a Product Shoot
Several preparation errors come up repeatedly with brands that are booking a product shoot for the first time. Arriving without a shot list is the most common. It leads to missed shots and rushed decisions on set. Bringing dirty or unprepared products wastes everyone’s time and often requires products to be cleaned on the day, which eats into the shoot schedule.
Not knowing where images will be used means the photographer cannot optimize file formats and sizes, and the brand often comes back for reshoots when they discover the images are too small or the wrong dimensions for a particular platform.
Another frequent mistake is expecting the photographer to make every creative decision without any guidance. A photographer can execute your vision brilliantly, but if you do not communicate a vision, the results may not align with your brand.
How Long Does a Product Photography Session Take?
The duration of a product shoot depends on the number of products, the complexity of the setups required, and how many different types of shots are needed for each product. A small e-commerce shoot covering ten to twenty products with clean white backgrounds might take four to six hours. A lifestyle shoot with multiple set changes, styled scenes, and a larger product range could take a full day or spread across two days.
Knowing how long the session will take helps you plan your schedule and ensures you bring everything you need without rushing. Hamza’s Production offers fast delivery of edited images within three to seven days of the shoot, so you can plan your product launches and marketing campaigns around a realistic timeline.
Booking Professional Product Photography in Pakistan and Dubai
Hamza’s Production has over 15 years of experience providing professional product photography services for businesses across Islamabad, Lahore, Karachi, and Dubai. Their team works with brands across fashion, jewelry, electronics, food and beverage, cosmetics, real estate, and many other industries, delivering high-quality, brand-consistent images that perform across digital and print channels.
Whether you need a simple clean-background e-commerce shoot or a full lifestyle campaign with multiple set changes, their photographers work closely with you to understand your brand and deliver images that genuinely elevate how your products are seen.
To book your professional product shoot and get a free quote, visit Hamza’s Production and reach out to the team today.


Leave a Reply